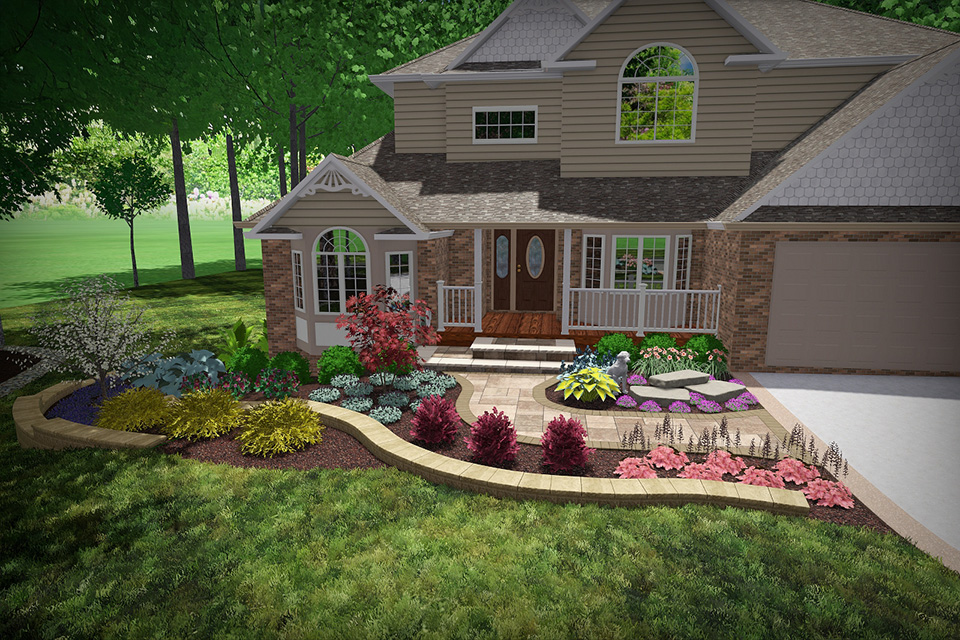
A 3D landscape rendering shows your yard before it's built — materials, lighting, and sightlines — so changes happen while they're still free.
The contractor walks into your kitchen and unrolls a top-down line drawing. "Here's the patio, here's the new beds, here's where the seat wall goes." You nod. You sign. Three months later you're standing on a finished patio that looks nothing like what you pictured.
This is the gap between a 2D landscape plan and a built landscape — and it's the gap a 3D rendering closes. This guide explains what 3D landscape rendering actually is, how it works, what it shows that a flat plan can't, and why we treat it as the single most important step before any shovel touches dirt.
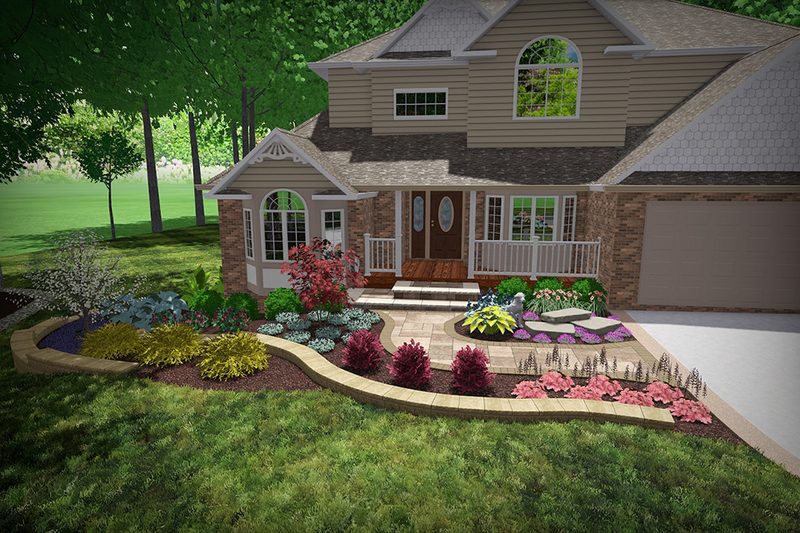
A 3D landscape rendering is a photo-realistic, computer-generated model of your proposed landscape, built from the design plan and rendered from specific viewing angles. It shows:
The deliverable is typically several still images plus an optional walk-through video. Modern rendering software produces images that are nearly indistinguishable from photographs for most viewers — close enough that homeowners can evaluate proportion, material, and color confidently.
The workflow:
The Richards Residence in Hinckley is a clean example of that sequence start to finish. The render we built became the working blueprint for the entire install — front entry walk through rear patio layout — and it is the image at the top of this article.
The core gap a rendering closes is the gap between plan view and experienced view.
A top-down plan shows:
A top-down plan does NOT show:
Every one of those is something homeowners care about and can't evaluate from a flat drawing. They evaluate it on install day — which is when changes cost the most.
Flow is the clearest example. On the Ranallo Residence in Elgin, the render showed how a stone island walkway would carry the eye from the front entry around to the backyard patio — and let us fine-tune the bed contours and drainage slopes before anything got dug. None of that reads on a top-down plan.
Night rendering is the highest-leverage subset of 3D work for landscapes that include lighting. The difference between a daytime rendering and a nighttime rendering on the same property is dramatic, and homeowners often pick lighting plans they end up disappointed by because they only saw the daytime version.
What a night render reveals:
We include a night render whenever the landscape design includes more than 6 lighting fixtures. The cost adds maybe 4–6 hours of designer time. The value is preventing a lighting redo that would cost thousands.
The ROI math is straightforward:
Changes during design: free. Move a wall in the model. Swap a paver. Move a tree. Rerender. The cost is designer time — absorbed into the design fee.
Changes during install: thousands of dollars per change. Moving a built wall, swapping a paver after the patio is half-laid, repositioning a tree after the planting crew has left. Material restock fees, labor reschedule, project timeline impact.
Changes after install: tens of thousands. The patio you wish was a different paver, the wall you wish was 6 inches taller, the lighting that reads cold and harsh, the plant placement that feels wrong from the kitchen window. Either you live with it or you rebuild it.
We see this monthly with homeowners who built from 2D plans and called us a year or two later wanting the redo. The rendering step would have caught the issue when it was free to fix.
In our experience, the things rendering catches most often:
When you hire a design-build firm like us for the design and the install, rendering is included in the design package — no separate line item. Most reputable local design-build firms work this way.
For standalone rendering (you have plans from another source and want a render added), pricing typically runs:
These ranges assume the underlying design plan is already complete and the modeler is just rendering it. If the modeler also needs to interpret/translate the plan into the 3D model, costs rise.
Our landscape design and 3D rendering service includes rendering as part of the standard design deliverable.
A 3D landscape rendering is a photo-realistic computer-generated image of your proposed landscape, built from the design plan and rendered from specific viewing angles. It shows your house, the proposed hardscape, plants at install size and maturity, lighting effects (including night views), and sightlines from the angles you actually look at the yard from. Modern rendering software produces images close to photo-realistic — close enough to evaluate materials, proportions, and design choices confidently before installation.
A 2D plan is a top-down line drawing showing where things go and how big they are. A 3D rendering shows what the landscape looks like from eye level, in your actual yard, with the actual materials. The 2D plan tells you the patio is 18 feet by 14 feet; the 3D rendering shows you what 18 by 14 feels like sitting at your kitchen window. Top-down plans are essential for construction; renderings are essential for design decisions.
Changes to the rendering are free. Changes during install cost thousands. Changes after install cost tens of thousands. By moving design decisions — paver color, wall height, plant placement, lighting choices — into the rendering phase, you catch issues when they're free to fix instead of when they cost money. Homeowner satisfaction studies on design platforms show satisfaction jumps over 30% when projects start from immersive renderings versus 2D plans alone.
No — it varies by firm. Larger design-build firms and modern firms typically include rendering in their design packages. Smaller firms or traditional designers may offer 2D plans only. If 3D rendering matters to you (and we strongly recommend it for any project over roughly $15,000), confirm it's included before signing.
Professional landscape designers use software like Sketchup, Vectorworks Landmark, Lumion, Twinmotion, or specialized landscape rendering platforms. The specific software matters less than the designer's skill at building accurate, well-lit models. Ask to see prior renderings from the designer's portfolio to gauge quality.
For a residential design, initial renderings typically take 1–2 weeks after site capture and concept finalization. Revisions — swapping pavers, moving walls, adjusting plant placement — add a few days per round. Most residential designs go through 1–2 revision rounds before final approval. The total design phase (intake, concept, render, revise, finalize) is typically 3–4 weeks.
Every design we build gets rendered first. These three are documented start to finish — the render, the install, and the finished yard, each with a walkthrough video:
On each page, compare the render against the transformation photos underneath it. That gap between what we showed the homeowner and what got built is the entire argument for rendering.
3D landscape rendering is the single highest-leverage tool in the design phase. It moves design decisions from install day (when changes cost real money) to the design phase (when changes are free). It catches the proportion errors, material clashes, lighting mood issues, and sightline problems that homeowners would otherwise discover on install day — or live with for years.
If you're hiring a designer who doesn't offer rendering, ask why. If you're working with one who does, treat the rendering review as the most important meeting of the entire process. The version of your landscape you sign off on in the rendering is the version you're going to live with.
Ready to see what custom looks like for your specific yard? What "Custom Landscape Design" Really Means covers what a real custom process includes — of which rendering is one piece.
Related reading
Ready to see your yard in 3D? Start with our landscape design and 3D rendering service or request a free site walk and we'll come see the property. Or call Lizzy at 779-777-3766.